TrailWatch App Tips – Creat an Event
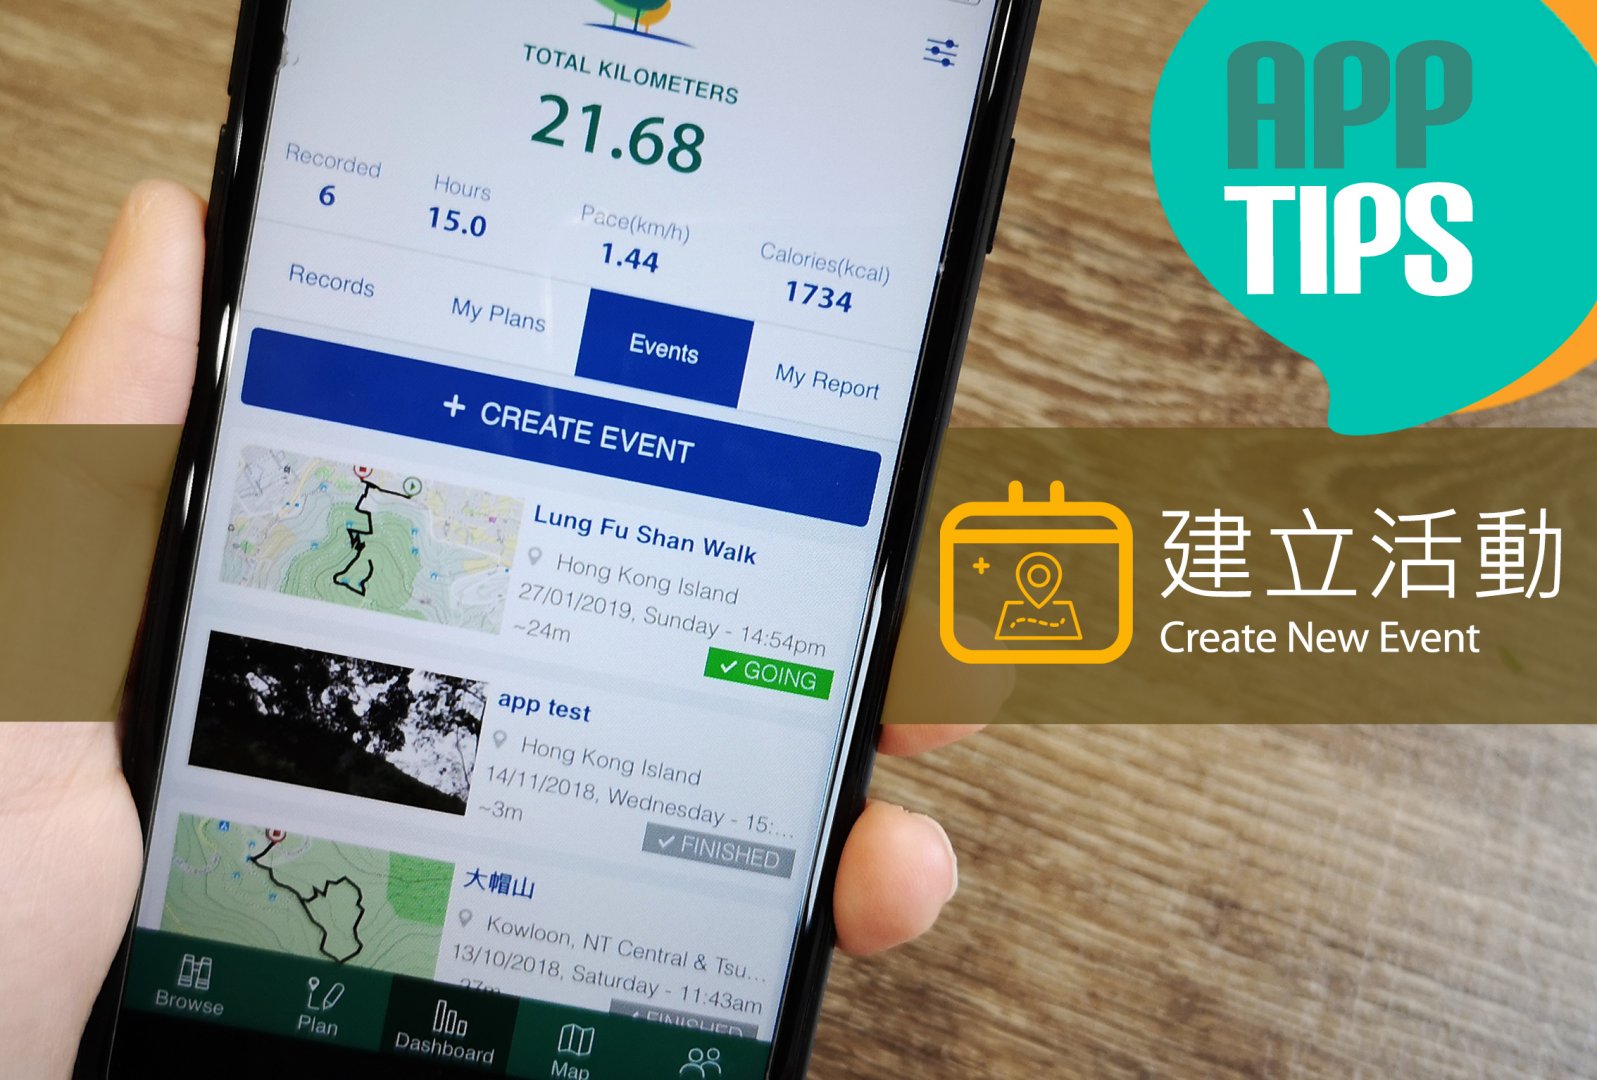
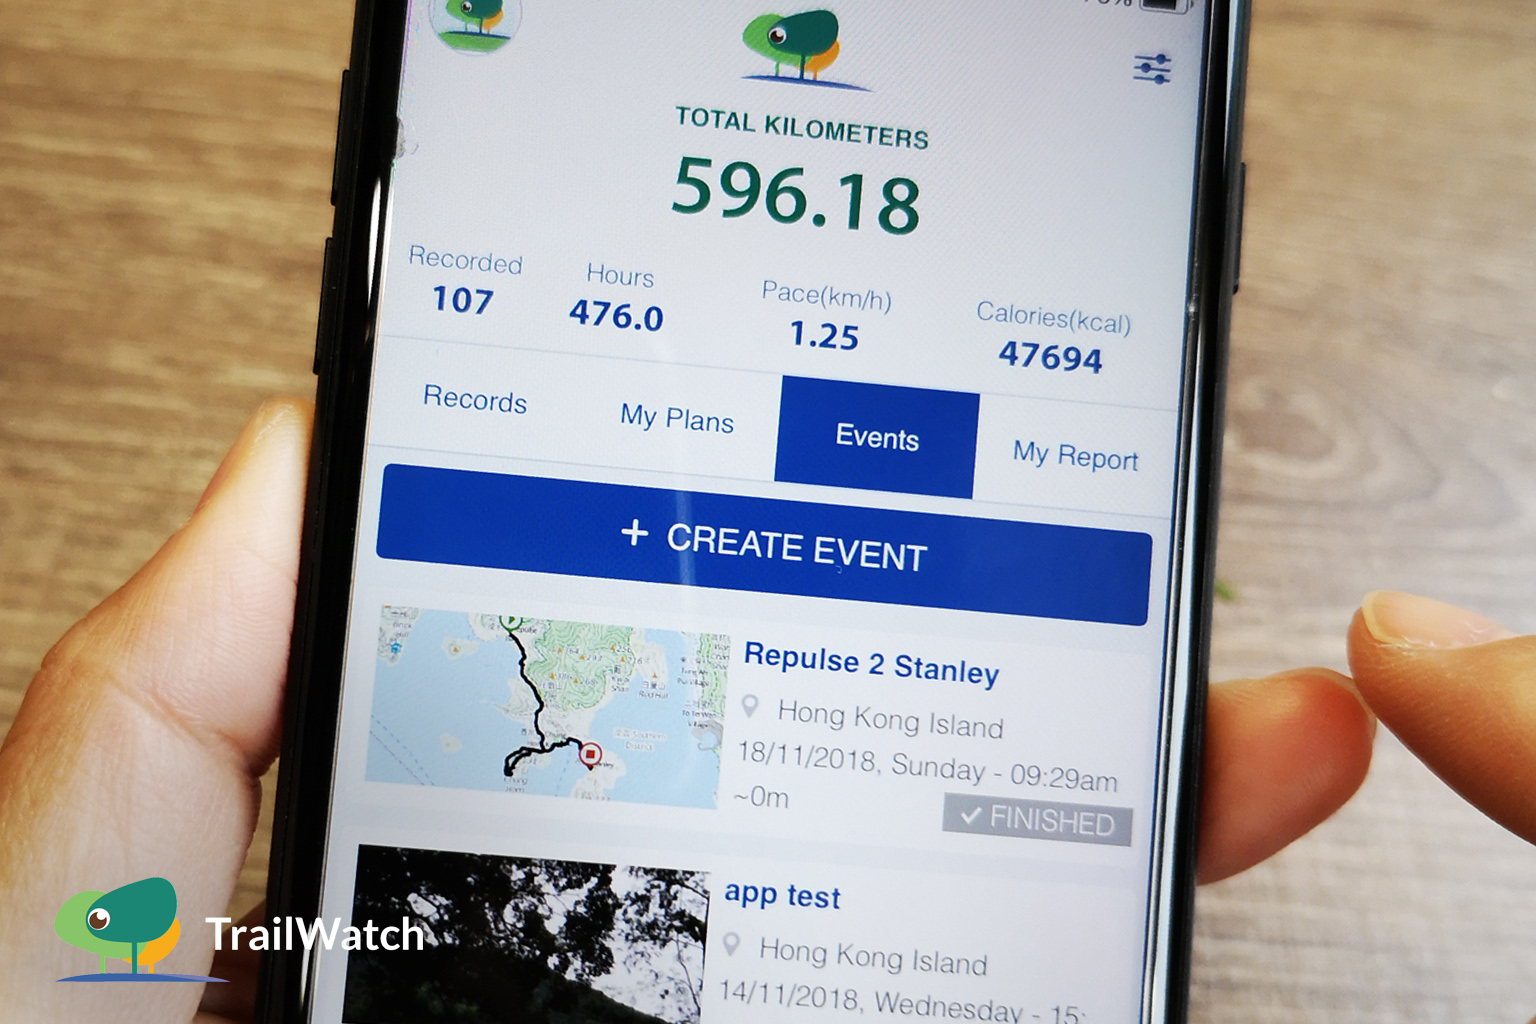
When organising an hiking activity, you might find it useful to provide your friends with information all in one place when inviting them. To get started, tap on “Events” on the TrailWatch app to create an event. Simply fill in the existing template so your friends can see the event details such as date and time, meet up location, route profile and elevation, dismiss location etc. Photos taken with the app can be saved under this event, making it easy for participants to share and browse all the photos.
1. Plan a Route / Bookmark a Route
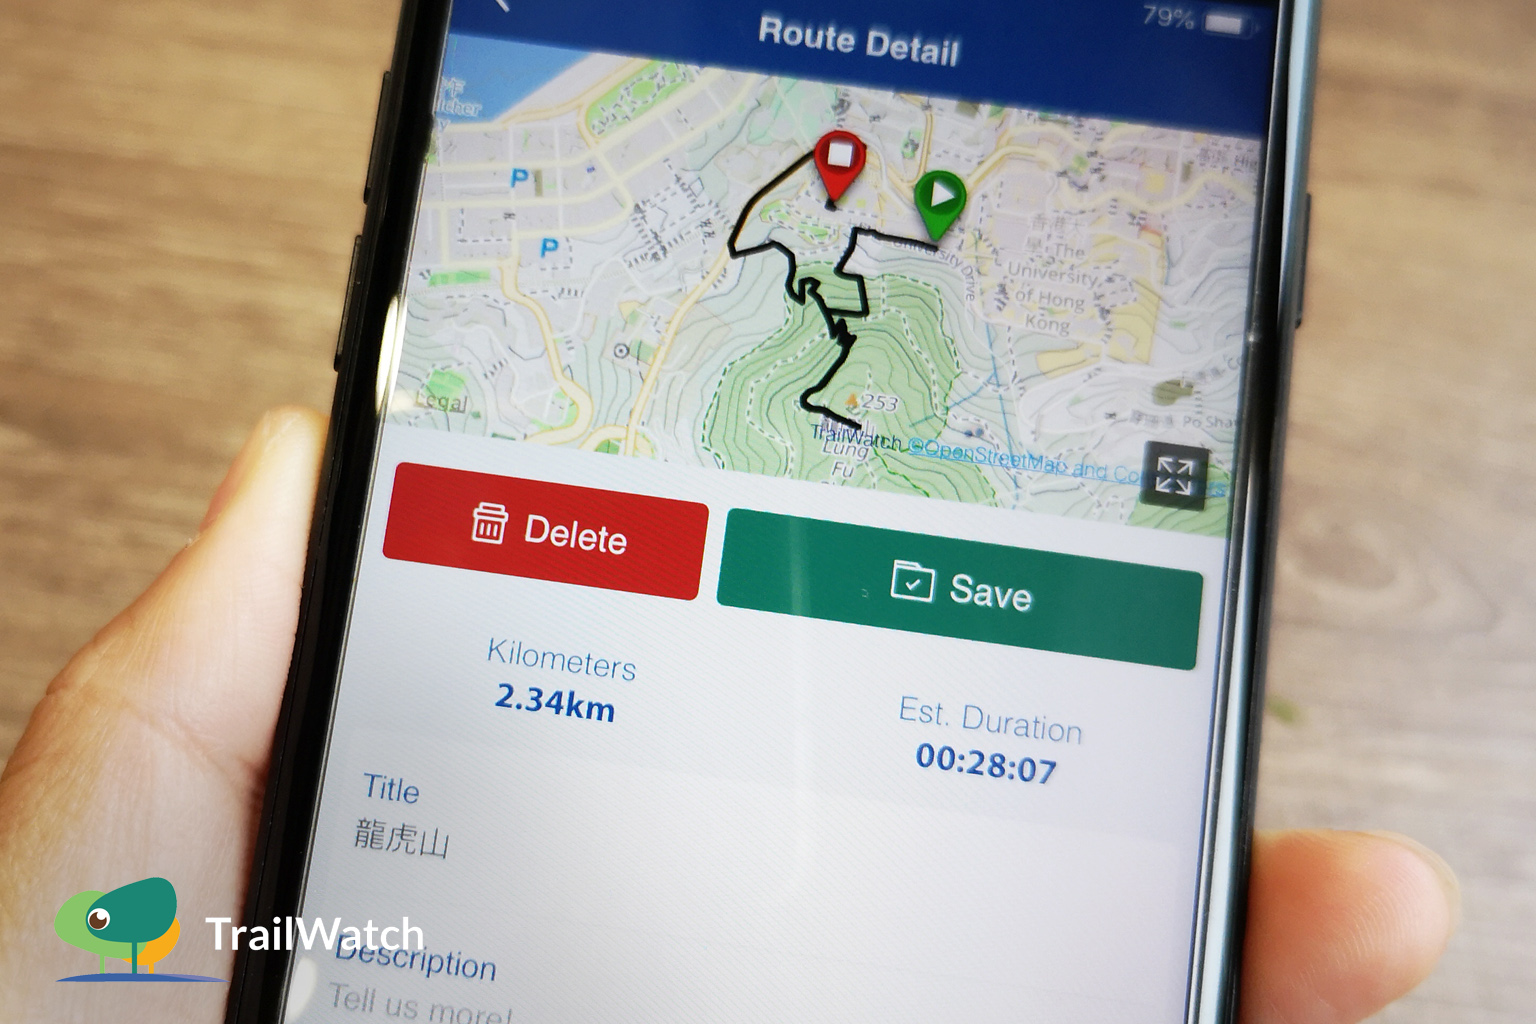
Tap on “Plan” to start planning your route and pinning any points of interests on the way and “Save” your route. Or else pick an existing route and bookmark it.
2. Create an Event
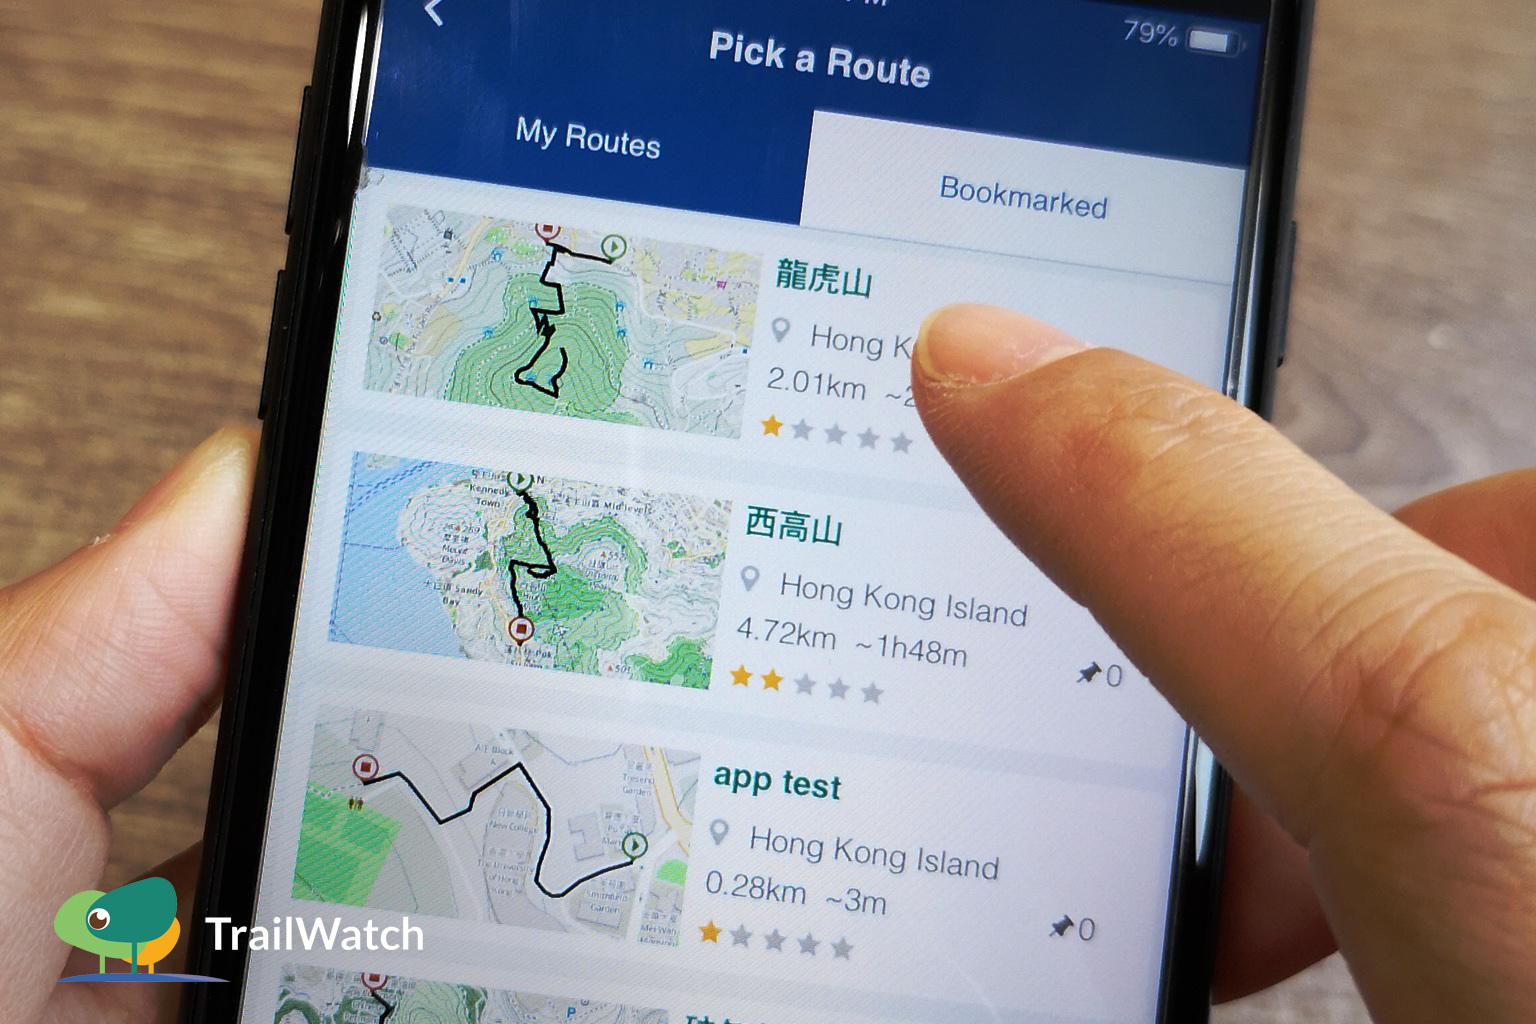
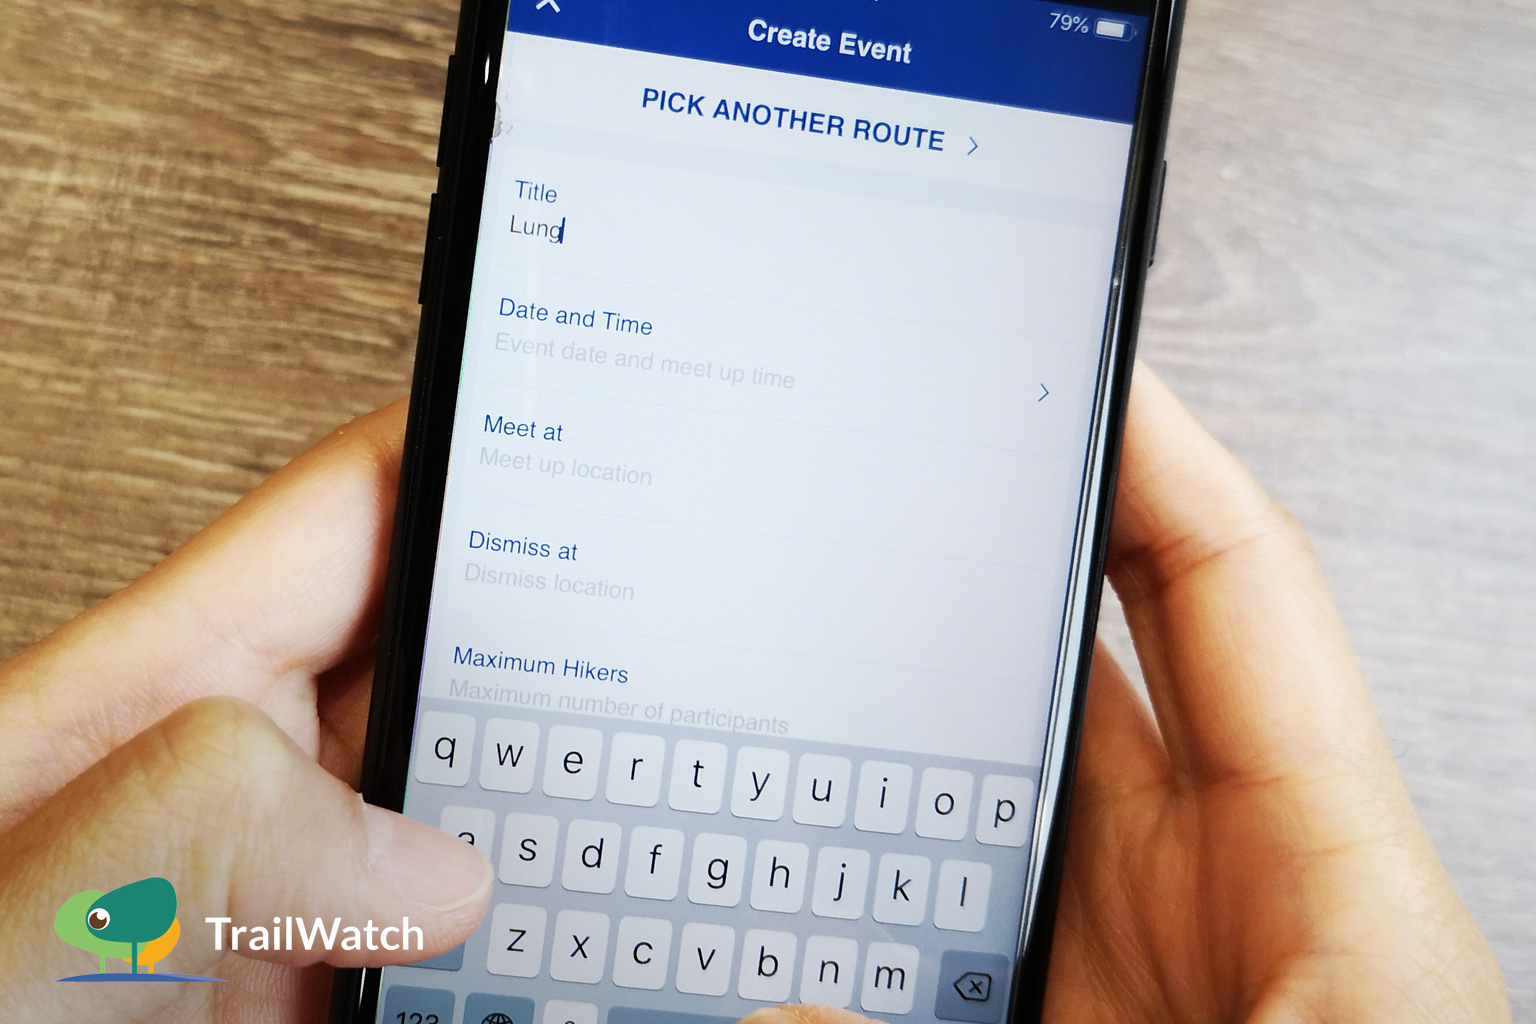
Tap on “Event” to create one and fill in the essential hiking information. Under “Notes”, feel free to add a simple event description and raise any points to note. Select your preferred privacy setting – make it a public event which allows participants to invite third parties to join or select “Friends only”.
3. Invite Your Friends
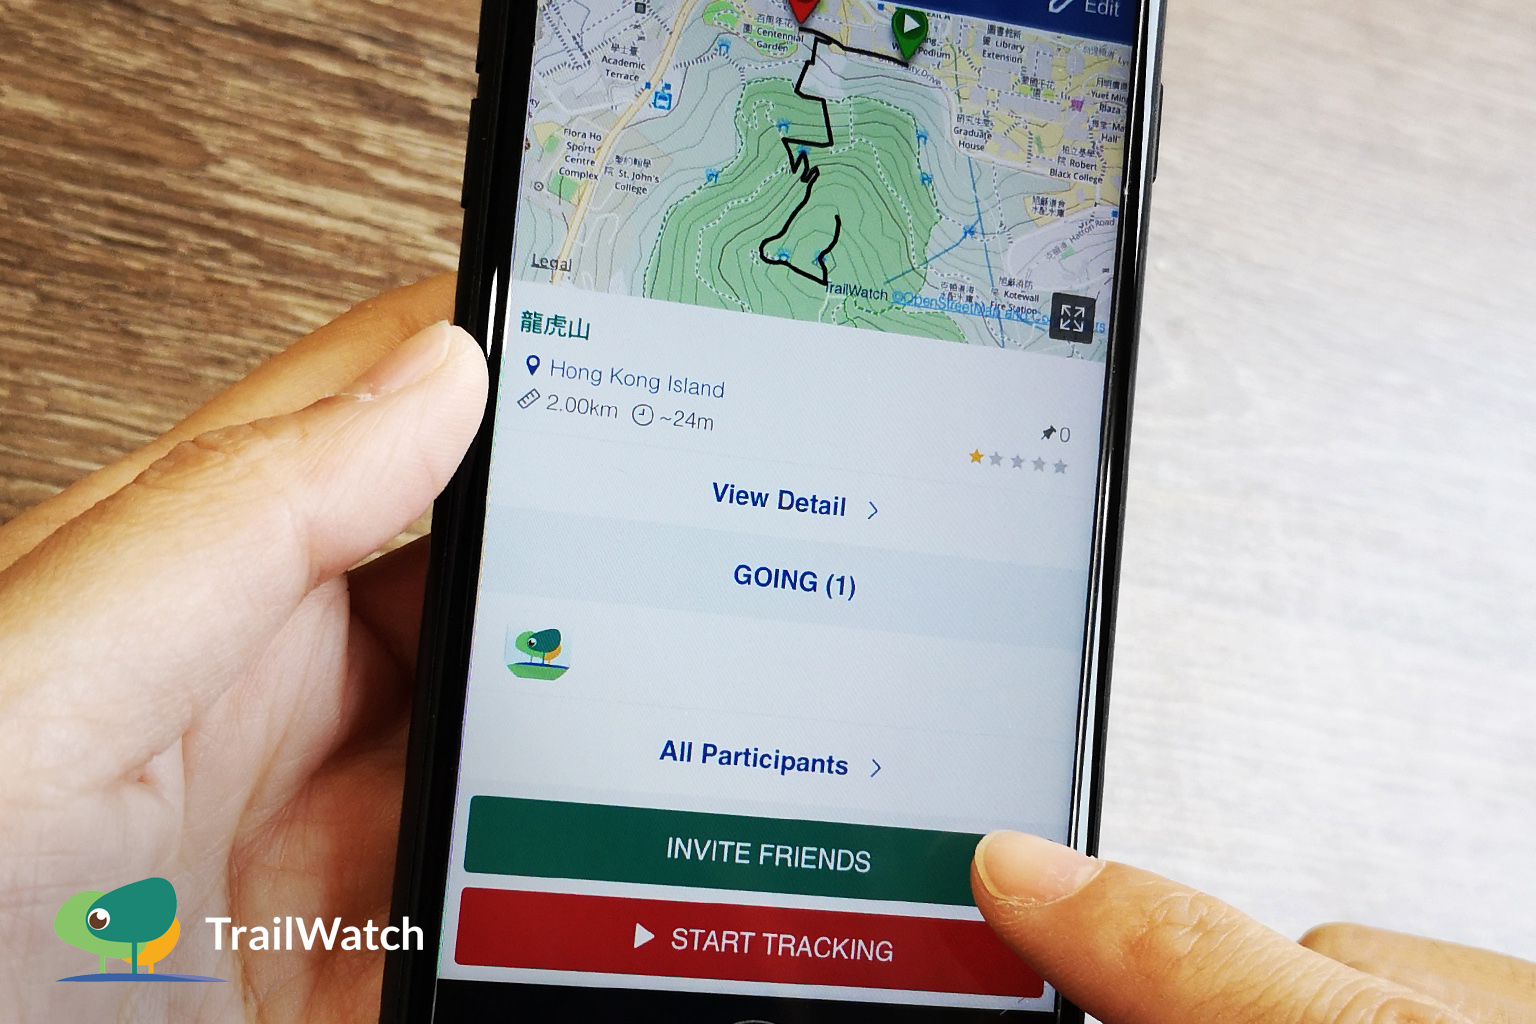
Once your event is created, click on “Invite Friends”. Upon receiving your invitation, your friends can RSVP via the app, which automatically generates a participant list for you.
4. Records the Hike
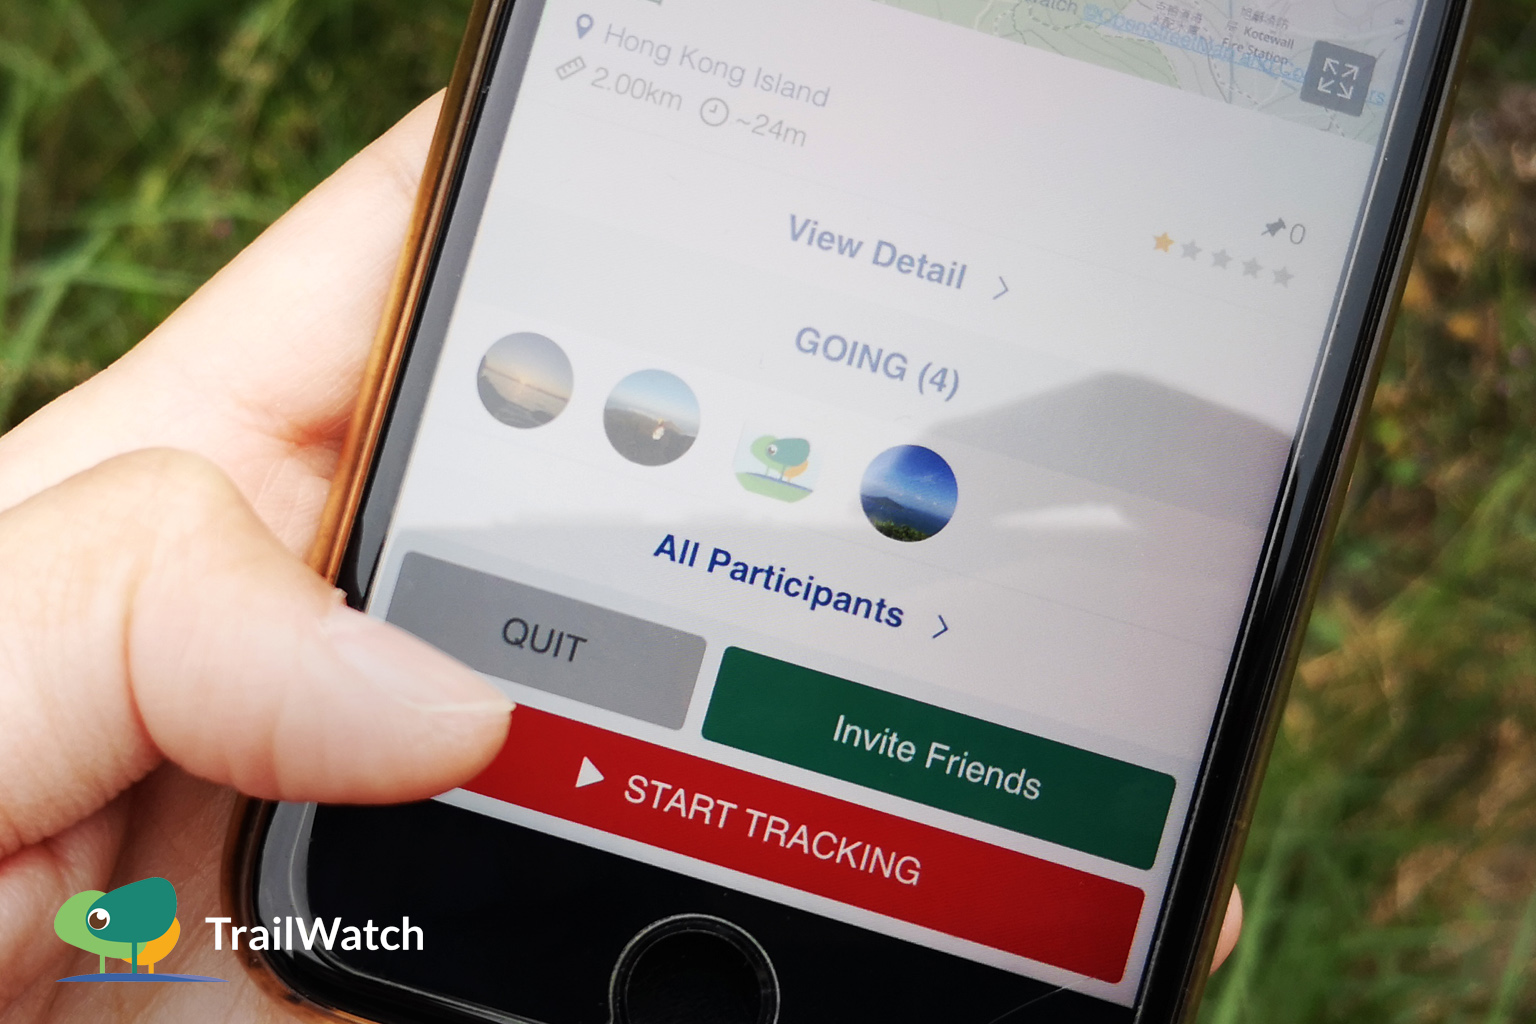
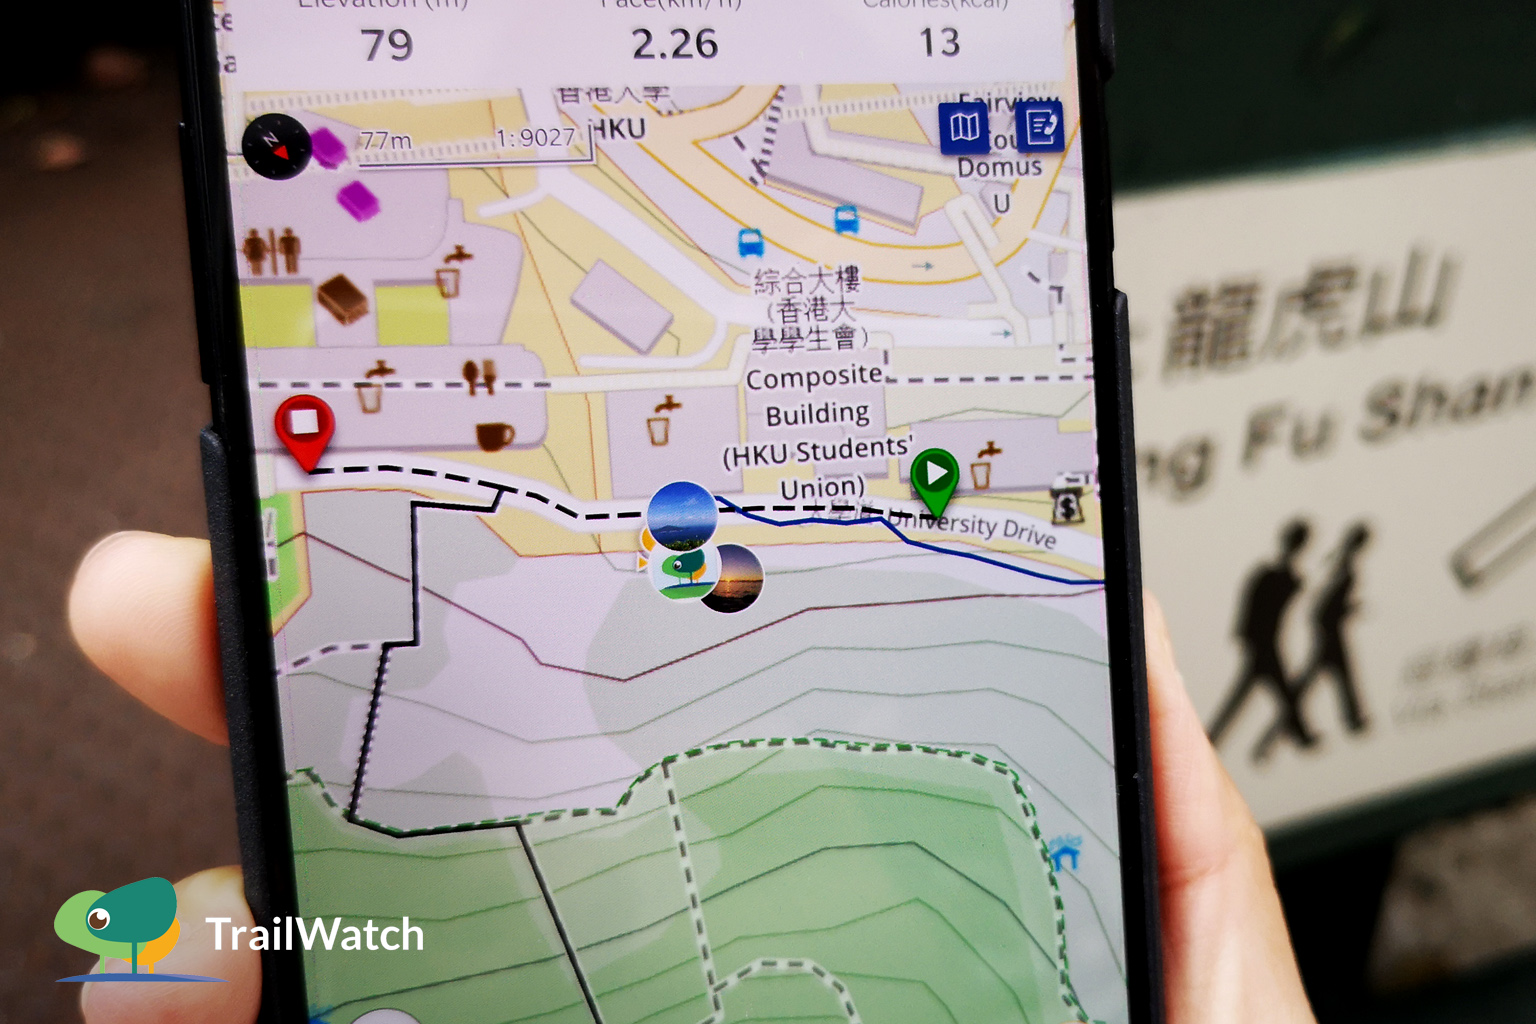
On the day, click into events and tap on “Start Tracking”. Let’s take some photos on the way.
5. Browse All Photos
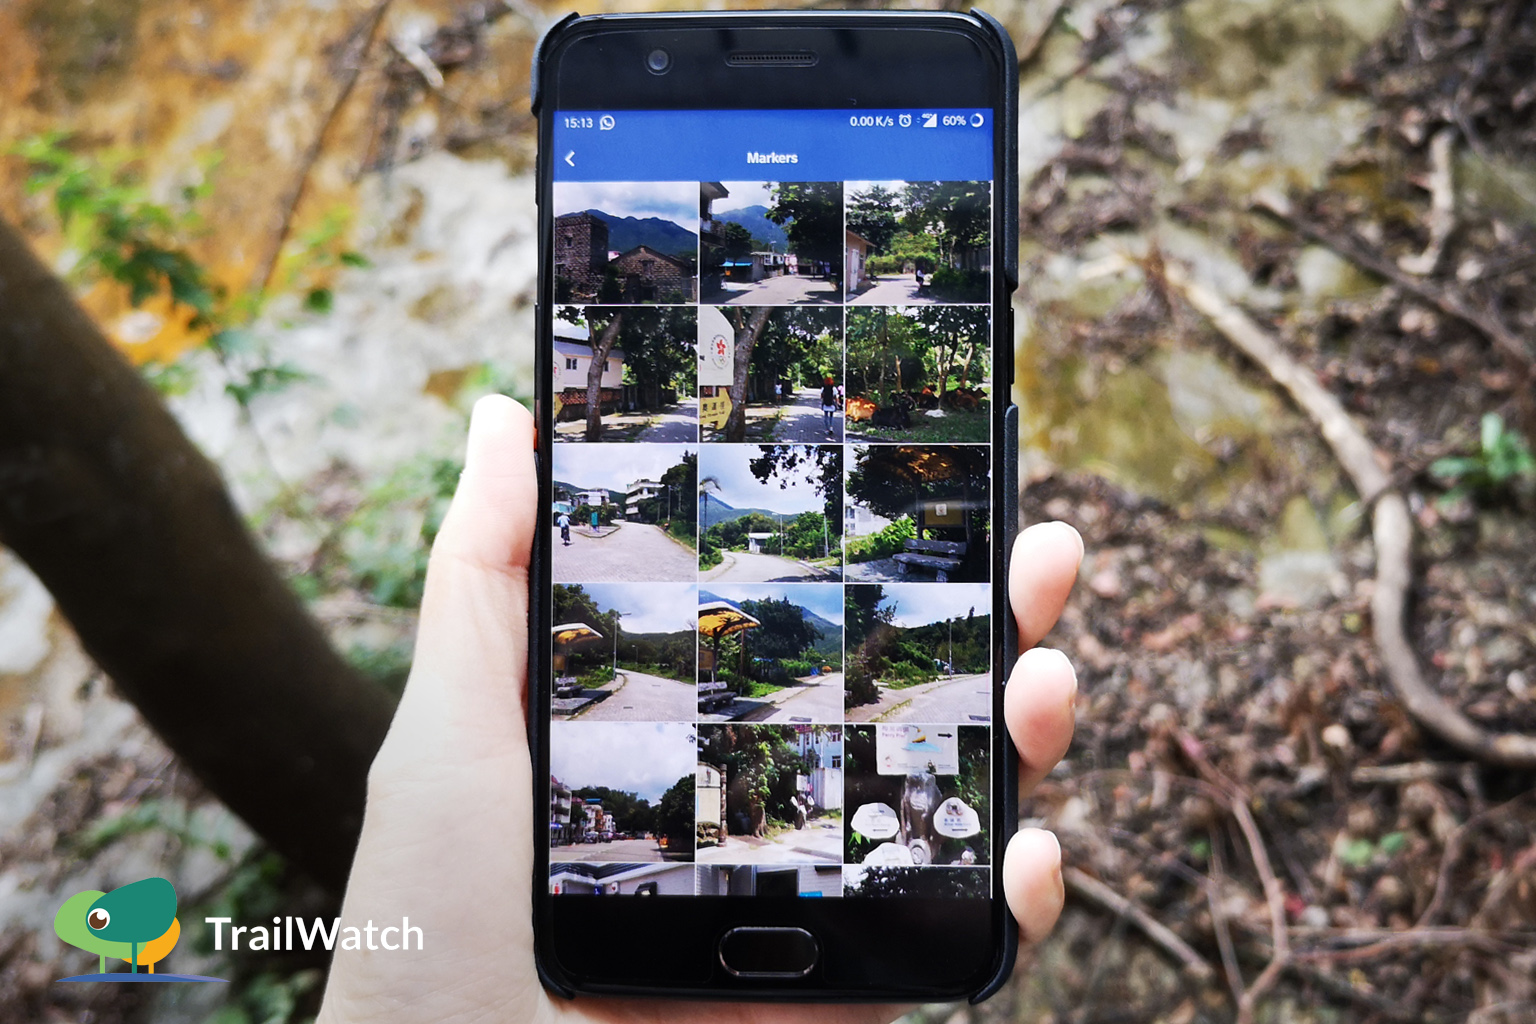
Photos taken by all participants via the app will be saved under the event. Everyone can contribute to the photo album and the app is a centralized platform to share and view all photos at ease.